Using Your MacBook as a Local WiFi Access Point
Table of Contents
The Problem
I needed my MacBook Air M2 (Sonoma) to broadcast its own WiFi network, being a WiFi server instead of a client. Not to share an internet connection, just to create a local wireless network so other devices could connect to it and talk to each other. Think local development and setting up a private LAN without carrying a router.
macOS has a built-in Internet Sharing feature (documentation), but it’s designed to share an existing internet connection (like Ethernet or Bluetooth tethering) over another network (such as WiFi).
On a MacBook with only a WiFi card and no wired connection, creating a standalone access point is not straightforward.
Attempt 1: Native Internet Sharing (Silent failure)
So I did follow the documentation and the internet’s recommendations. I went to System Settings → General → Sharing → Internet Sharing and enabled everything:
- Picked a source connection (let’s say Thunderbolt)
- Selected “To computers using:”
Wi-Fi - Set the network name and password
- Kept my WiFi on, but not connected to any network
- Turned the toggle on
- Accepted the warning popup
Everything appeared enabled. No error messages. No warnings. But the WiFi network simply never appeared. Not on my phone, not on any other device. macOS accepted the configuration but silently refused to actually broadcast the signal.
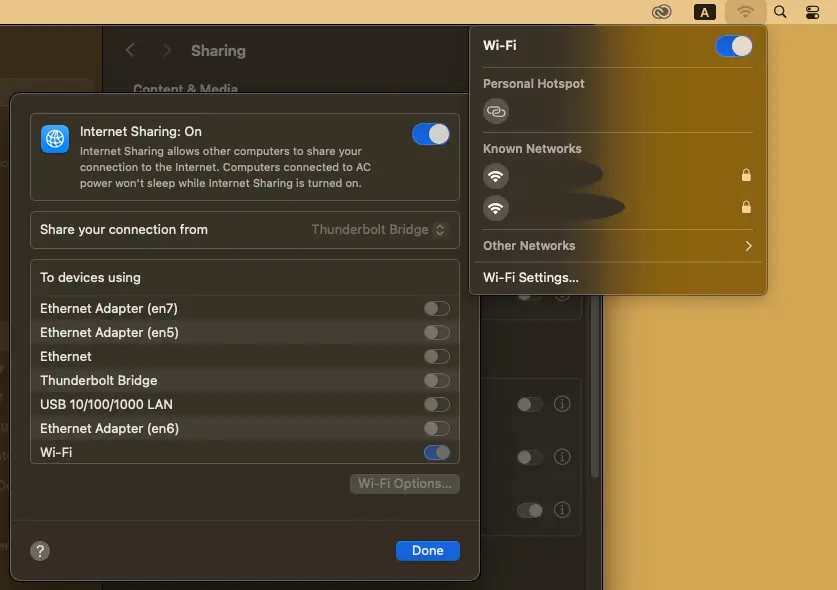
The reason: macOS Internet Sharing is built to share an existing (i.e. activated, up) connection, not blindly bridge one network stack to another. Without an active upstream connection that the system recognizes as active, the underlying service doesn’t actually bring up the access point, even though the UI lets you enable everything.
The hack: Faking a connection with a loopback interface
The solution came from a gist by @zhuhuilin: macOS Internet Sharing Without Internet Connection1.
The trick is to create a new network service on the loopback interface (lo0). macOS only checks that the network service has an IP address (which is apparently how it determines whether a connection is active) before allowing Internet Sharing. It doesn’t verify that the connection reaches the real internet. By assigning a static IP to lo0 and registering it as a network service, macOS happily accepts it as a valid source.
The gist provides the exact commands to run in Terminal:
curl -L https://gist.github.com/zhuhuilin/01656866b3e73a677a434c21183b40d2/raw/setup-adhoc-network.sh | bash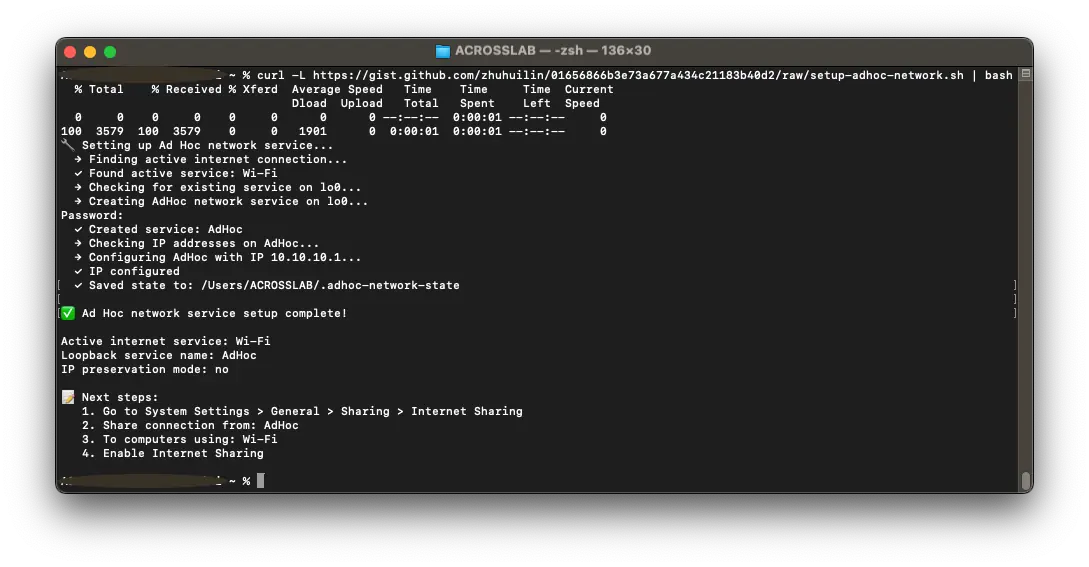
This will automatically:
- Find your active internet connection
- Create a new network service (named
AdHoc) onlo0 - Assign the Mac the IP
10.10.10.1on this new service - Save state for safe removal
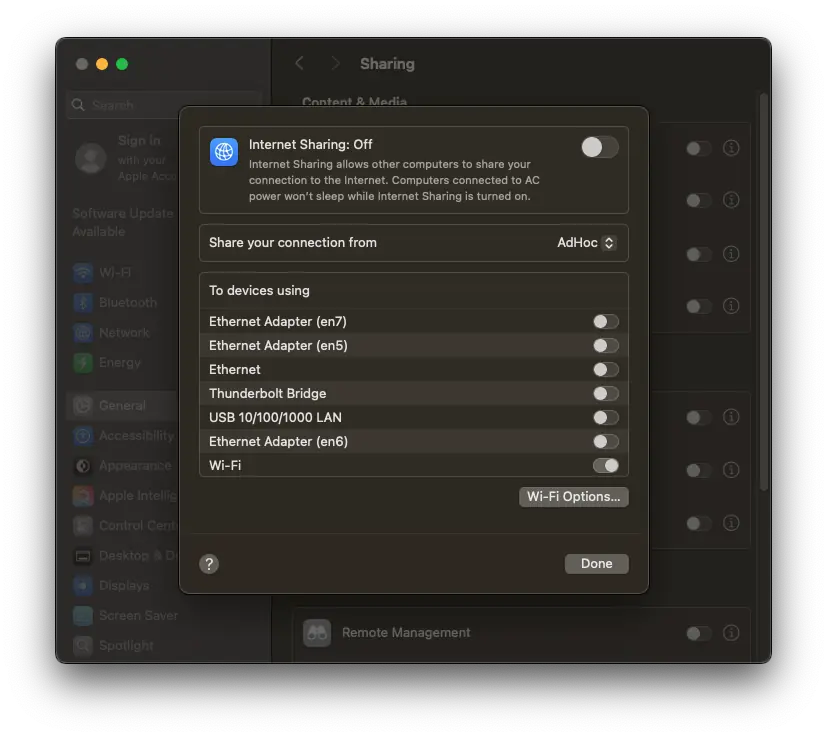
Then you can select this AdHoc service as your source in Internet Sharing. Once configured, macOS actually brings up the WiFi access point, and devices can see and connect to it.
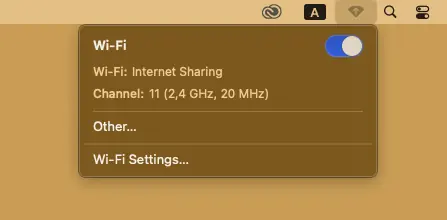
The WiFi should be enabled on MacOS to have the beacon activated. But it should not be connected to any networks.
Changing the DHCP range
By default, macOS Internet Sharing assigns connected devices to the 192.168.2.0/24 range. I needed mine to be 192.168.68.0/24 to match my existing setup.
After some digging, I found that you can override the default DHCP range with three defaults write commands targeting the system NAT preferences:
# Set the starting IP address
sudo defaults write /Library/Preferences/SystemConfiguration/com.apple.nat NAT -dict-add SharingNetworkNumberStart 192.168.68.2
# Set the last IP address
sudo defaults write /Library/Preferences/SystemConfiguration/com.apple.nat NAT -dict-add SharingNetworkNumberEnd 192.168.68.254
# Set the netmask as /24
# -> This isn't automatic and is necessary!
sudo defaults write /Library/Preferences/SystemConfiguration/com.apple.nat NAT -dict-add SharingNetworkMask 255.255.255.0
After running these and restarting Internet Sharing, connected devices received IPs in the 192.168.68.x range — exactly what I needed.
Settings seems to cache these parameters. Quit the Settings application before applying them, then reactivate Internet Sharing.
The whole thing works reliably once the loopback trick is in place. The AdHoc service survives reboots, and the DHCP range sticks as long as you don’t reset the NAT preferences. The one thing to keep in mind: if you do have an actual upstream connection available (Ethernet, USB tethering), you can use that directly as the Internet Sharing source and skip the loopback hack entirely, it’s only needed when you want to have an access point from macOS without internet.