Installing OpenMediaVault without IPv6
Table of Contents
I needed a Network Attached Storage (NAS) for my lab. I had a Dell Vostro 3888 sitting around, an i3-10100 with 20GB RAM, one SSD, and two 1TB HDDs. OpenMediaVault (OMV) seemed like the obvious choice. The install should have taken twenty minutes. It took most of an afternoon, because I had no IPv6, and other issues.
Here is every issue I ran into, in order, so you don’t have to repeat my mistakes.
This “guide” is describing the struggle I had to install OMV 8.0.7 (stable) on a machine in a network with IPv6 disabled.
If you’re using another version of OMV, your mileage may vary :)
Issue 1: The installer blue-screens after WiFi connection
I do have some experience installing Linux systems, so I pretty much followed the same steps as described in the official documentation: Downloaded the iso, flashed a USB stick, boot the OMV ISO, follow the first steps, connect to your WiFi network, type the password, see the “Configuring DHCP” loading screen, see the “Configuring DHCPv6” loading screen…
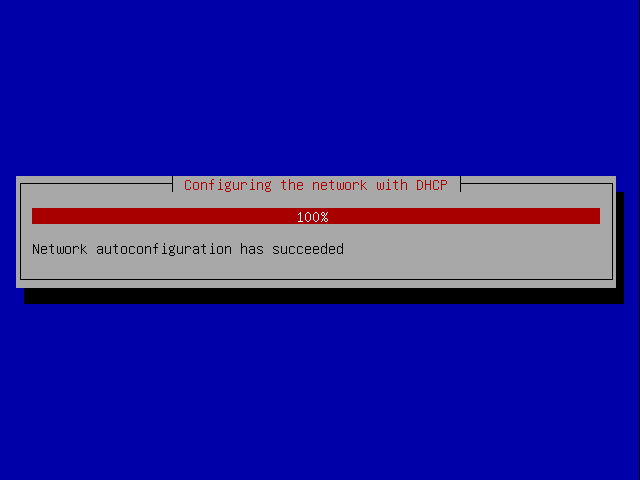
The popup closes. You’re staring at a blank blue Debian installer background. Nothing works. The keyboard registers keys and displays them on the screen, but nothing happens.

The likely cause: the Debian installer tried DHCPv6 after getting an IPv4 address. However, my router has IPv6 disabled, the request timed out with no response or got an unexpected message… Anyway, the installer broke and after waiting 1 hour, I tried to fix it: I disabled IPv6 at the kernel level for this boot only.
To do so, at the GRUB boot menu, press e to edit the current entry. Find the linux line and append ipv6.disable=1 to the end:
linux /install/vmlinuz vga=normal quiet file=/cdrom/preseed.cfg ipv6.disable=1Press Ctrl+X or F10 to boot. The installer skips DHCPv6 and proceeds.
Editing in GRUB with e changes the boot parameters for this session only. Nothing gets written to disk. If it doesn’t work, reboot and try something else. Once you confirm the fix, you can make it permanent later.
Issue 2: No network after first boot
OMV installs, reboots, and the WiFi interface (wlp2s0 in my case) has no IPv4 address. The web UI is, obviously, unreachable. The ipv6.disable=1 fix was only for the installer boot, and the freshly installed system tries to negotiate IPv6 on the network. My router still has IPv6 disabled, so the negotiation fails and the interface gets no usable IP at all.
The fix: Again, boot with ipv6.disable=1 added from GRUB (press e at the boot menu, add it to the kernel line, Ctrl+X to boot).
After this, nothing is magically working yet. I had to manually bring the WiFi up with a few commands:
# Generate WPA config
wpa_passphrase "YourSSID" "YourPassword" > /etc/wpa_supplicant/wpa_supplicant.conf

# Connect my wifi interface using the generated config
wpa_supplicant -B -i wlp2s0 -c /etc/wpa_supplicant/wpa_supplicant.conf

# Request an IPv4 address to the network's DHCP.
dhcpcd wlp2s0
You should now have an IPv4 address and be able to ping the machine, but you won’t be able to reach the web UI at http://<machine-ip> yet…
Issue 3: nginx fails to start because of IPv6
With WiFi up and an IPv4 address in hand, I tried to open the OMV web UI. Nothing on port 80. The nginx service was failing to start:
-- Unit nginx.service has begun starting up.
Jun 02 14:46:27 nginx[5069]: nginx: [emerg] socket() [::]:80 failed (97: Address family not supported by protocol)
Jun 02 14:46:27 nginx[5069]: nginx: configuration file /etc/nginx/nginx.conf test failed
Jun 02 14:46:27 systemd[1]: nginx.service: Control process exited, code=exited status=1
Jun 02 14:46:27 systemd[1]: Failed to start A high performance web server and a reverse proxy server.
-- Subject: Unit nginx.service has failed
The reason: OMV’s nginx config binds to [::]:80 (the IPv6 wildcard) by default. But I had booted with ipv6.disable=1 on the kernel command line, my router doesn’t provide any IPv6: so IPv6 is not available. Nginx tries to listen on [::]:80, gets “Address family not supported by protocol,” and dies.
The fix: Edit the nginx site config to remove the IPv6 listen directive:
nano /etc/nginx/sites-enabled/openmediavault-webguiComment out the line listen [::]:80; (but keep the listen 80; line used for IPv4). Then restart nginx:
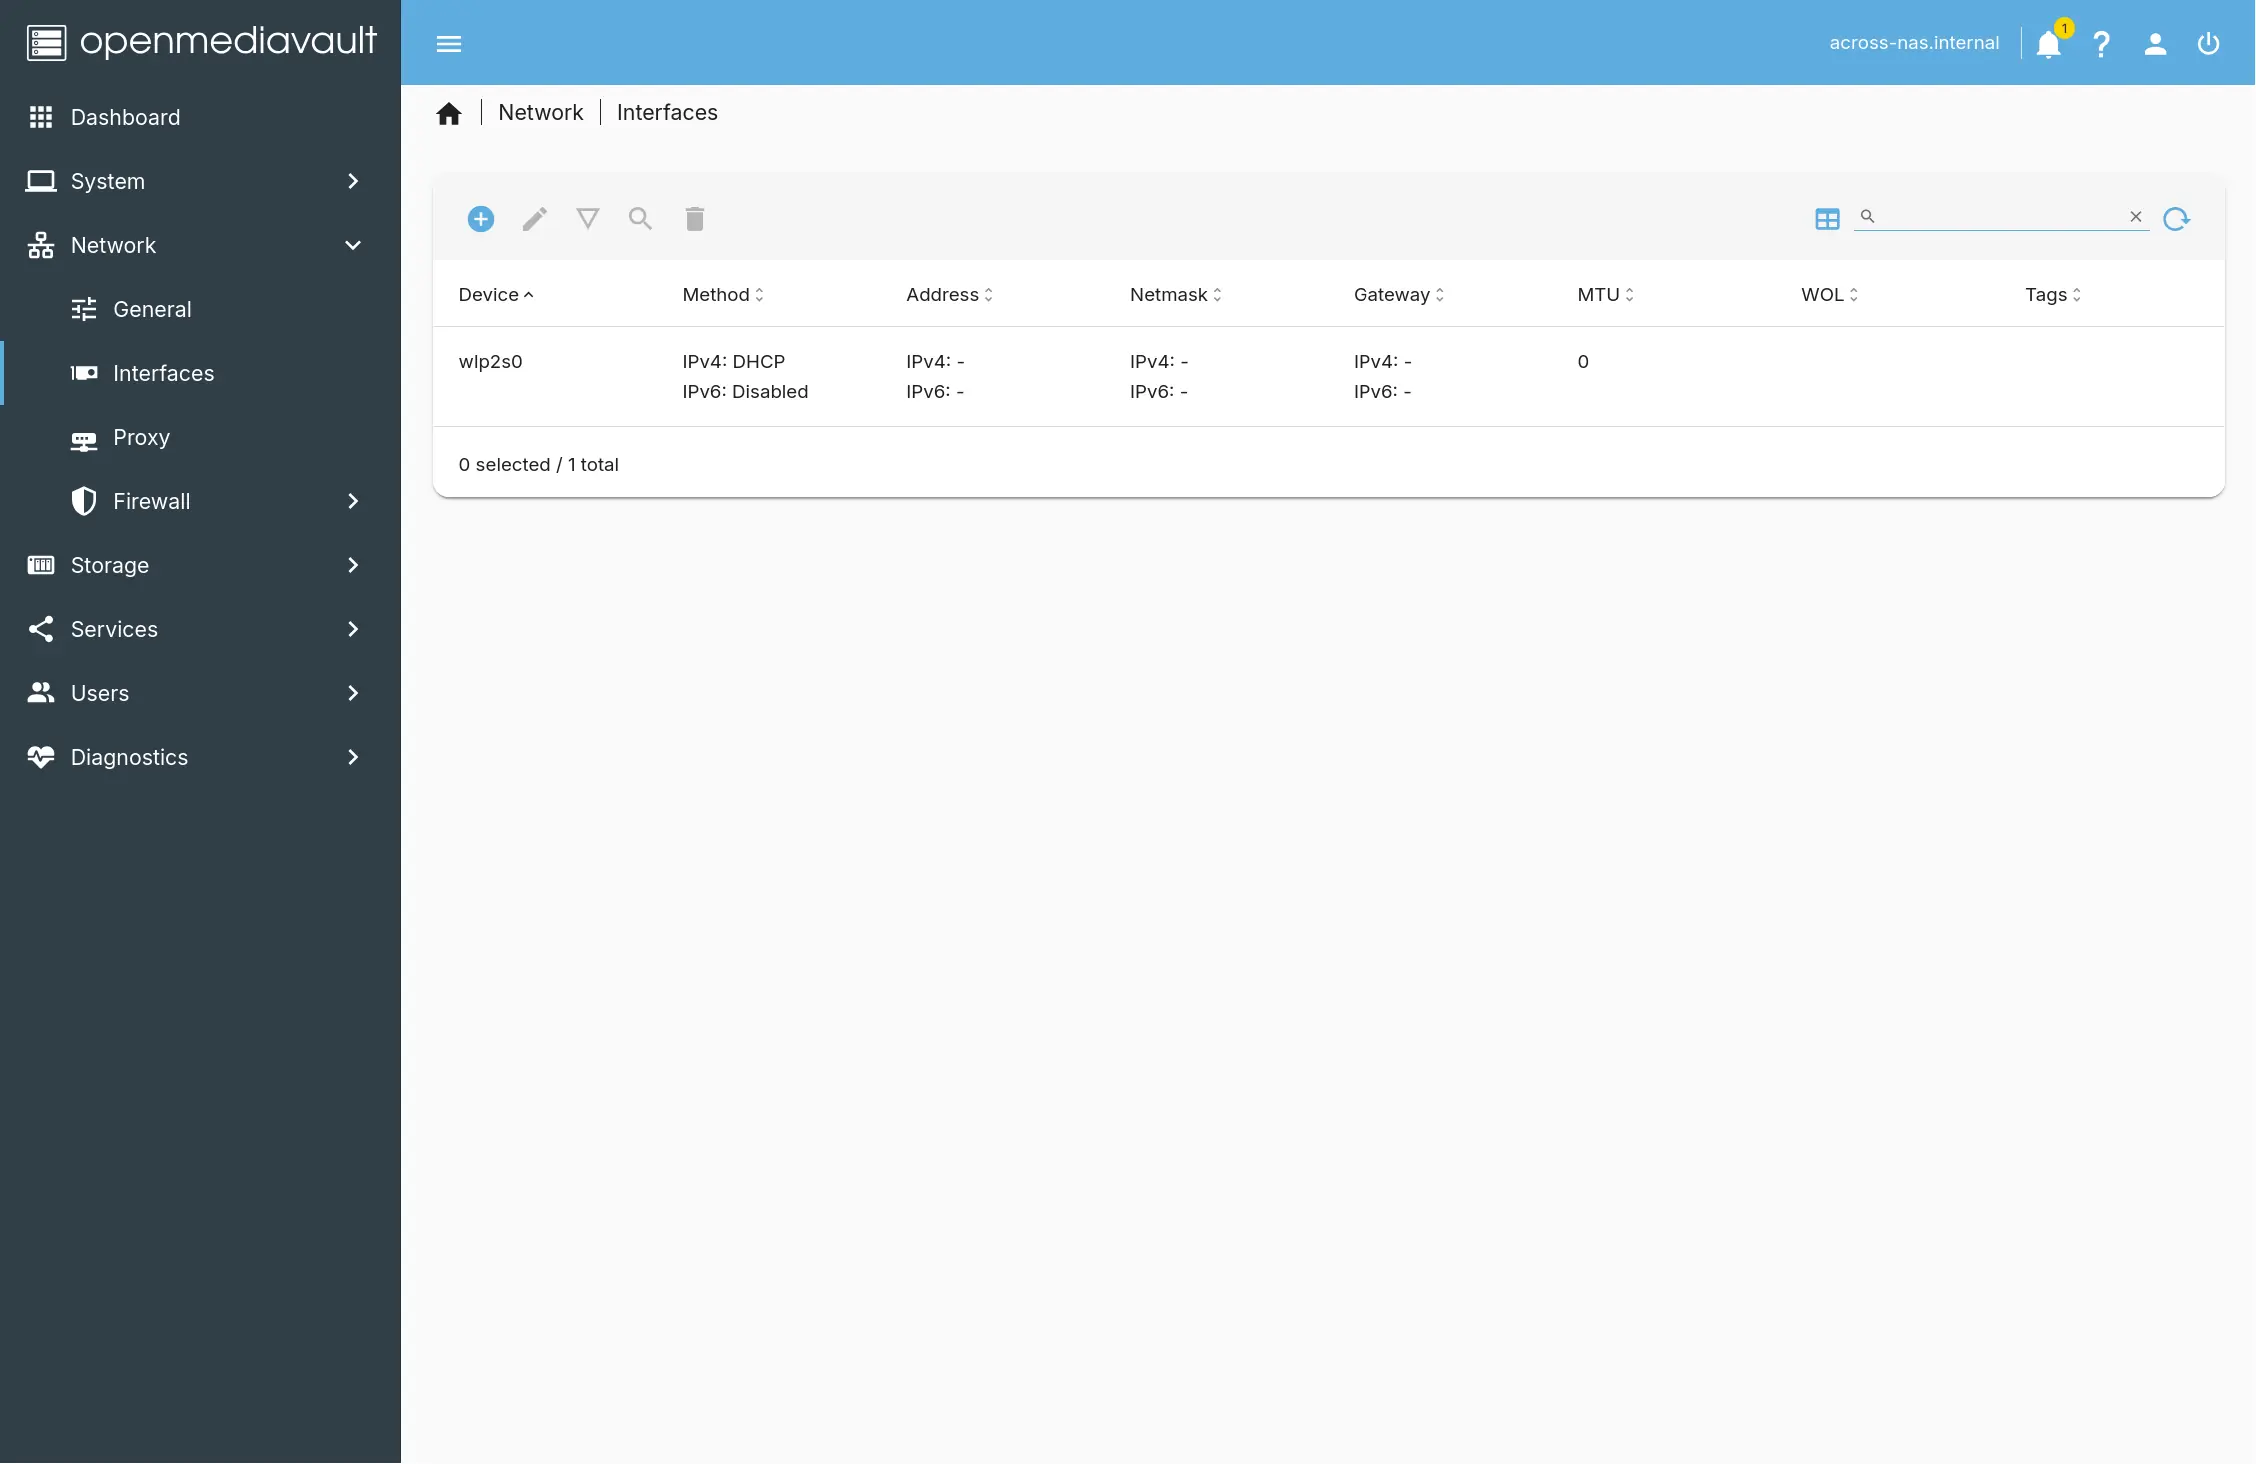
systemctl restart nginxThe web UI comes up. Log in, with the default credentials (admin / openmediavault), go to Network → Interfaces, configure your WiFi interface (me wlp2s0) with your WiFi credentials, set the IPv4 as DHCP and the IPv6 as Disabled, save and apply. On the next reboot the web UI starts without trouble, because the saved network config no longer uses the faulty IPv6.
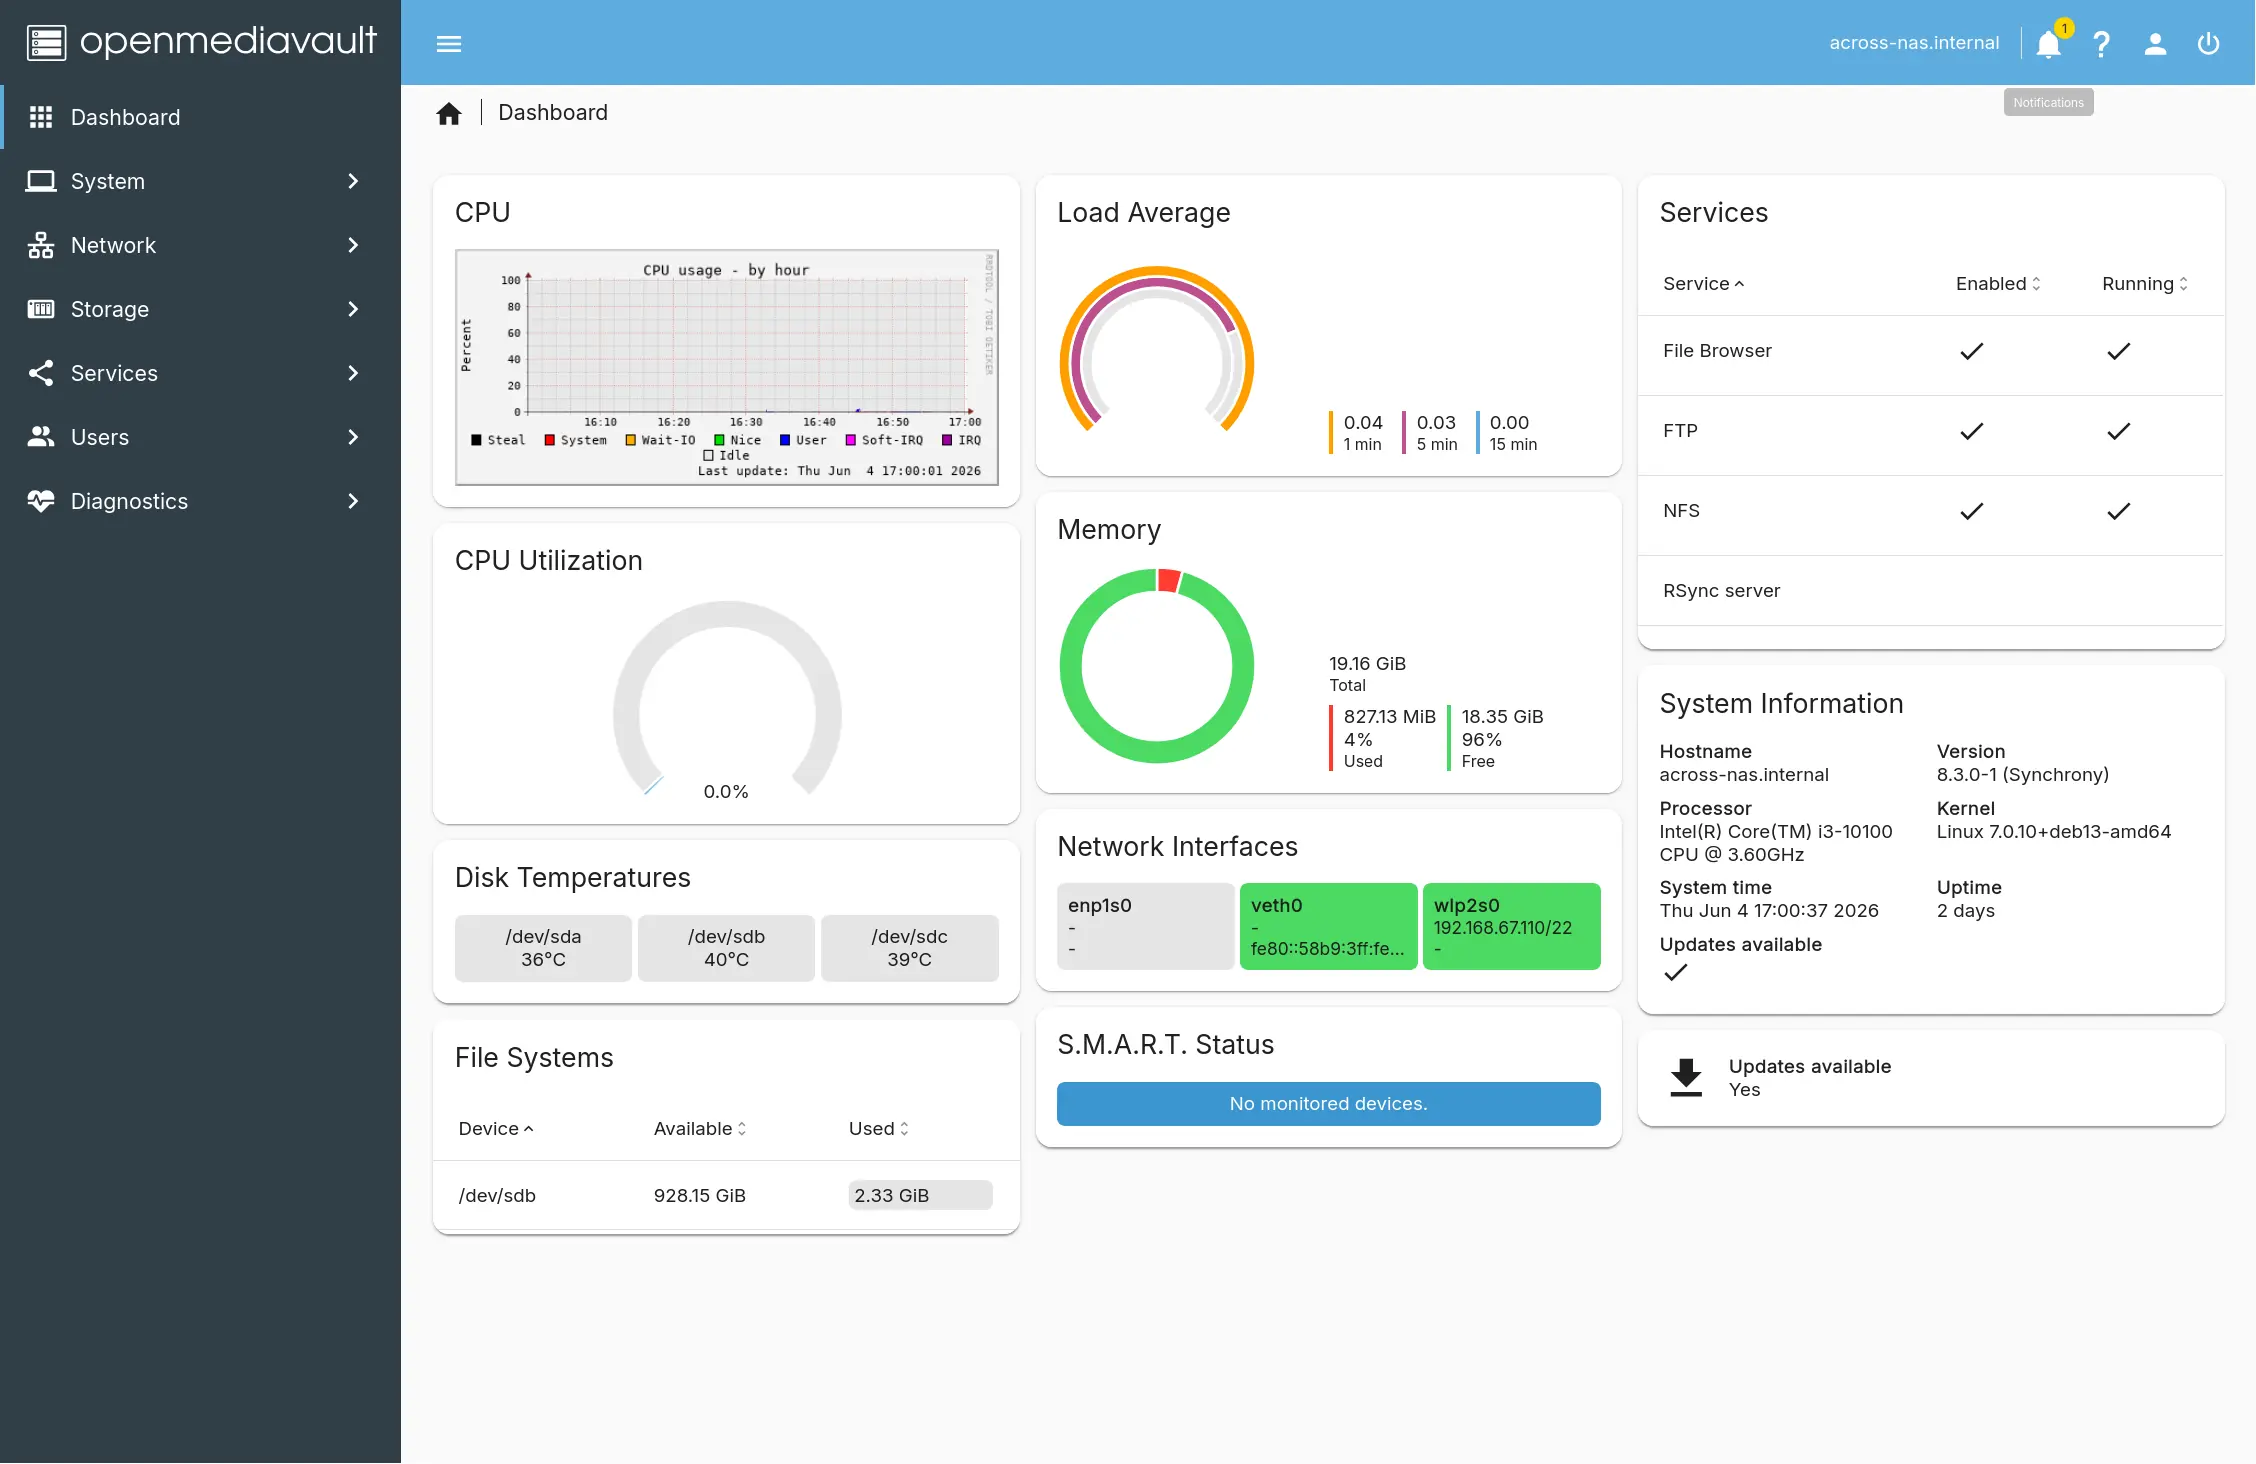
Finally :)
Storage: Btrfs RAID1 on the two HDDs
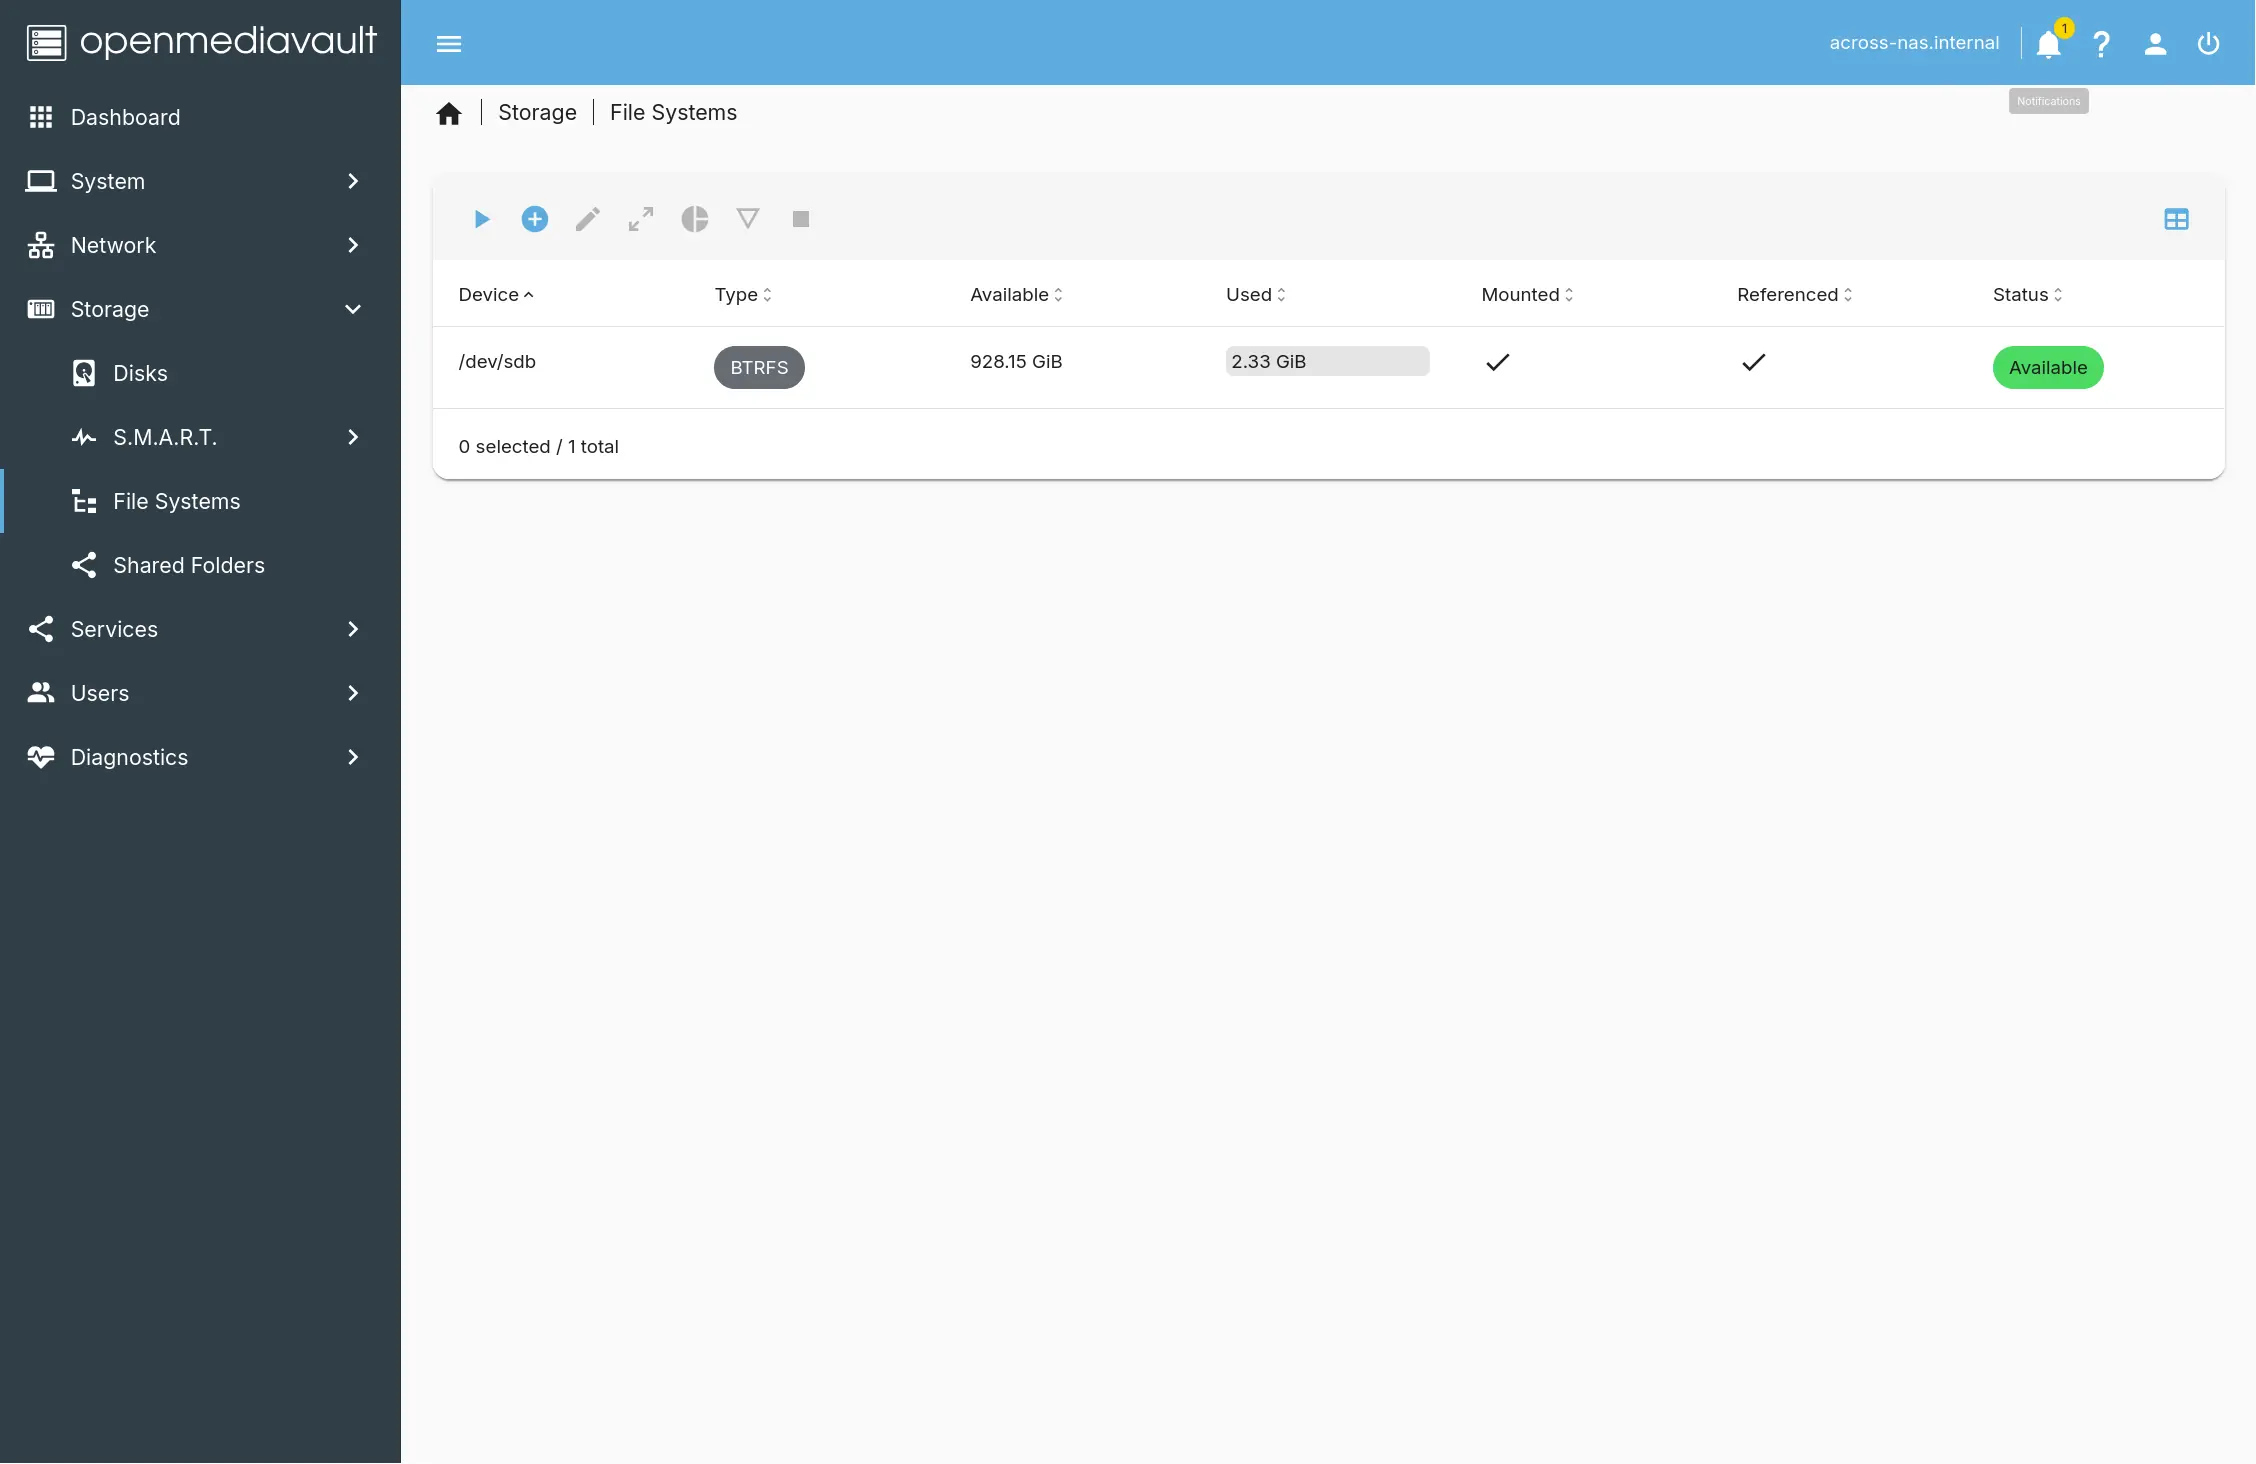
With the OS running on the SSD, the two 1TB drives become the data pool. I used Btrfs in RAID1.
Btrfs is a copy-on-write filesystem with built-in checksums, snapshots, and native RAID support. For a NAS, the checksums detect silent data corruption, snapshots let you roll back files if someone overwrites them, and RAID1 keeps your data alive if one drive fails (both disks are mirrored, I lose a lot of space, but I’m less likely to lose data). OMV handles all of this through the UI.
- Storage
- File Systems
- Press the blue button Create.
- Select
BTRFSfrom the dropdown. - Select your desired Profile (
RAID1for me). - Select both HDDs.
- Hit create, wait a few minutes, then mount it.
After that, create a shared folder on the volume and enable SMB, NFS and other network protocols under Services.
One thing to not forget to ease the management of the NAS is to set up a regular (monthly) scrub to catch silent data corruption. OMV 8 doesn’t expose this in the UI, so use a scheduled task:
System → Scheduled Tasks → Add
Schedule: Monthly (0 2 1 * * for 2am on the 1st)
Command: btrfs scrub start /srv/dev-disk-by-uuid-XXXX
Issue 4: Some Windows 11 machines refuse to connect
The goal for this NAS is simple: anyone in the lab walks in with their own machine, opens the file manager, find the NAS in their Network file tab, and gets in. No passwords, no account creation, no IT support. I configured the SMB share with Guests allowed, meaning anyone can connect as a guest and access files. I also enabled NFS and other protocols for the Linux (me 😁) and macOS machines in the lab.
Everything worked on every Linux machines. Everything worked on all macOS machines. It worked on the first Windows 11 machines. But other Windows 11 popped up a credential prompt that rejected everything I threw at it. Blank username, guest, random names. Nothing worked, no error message, no hint, just an endless login loop.
The probable cause: Windows 11 24H2 changed two SMB security defaults. Microsoft now requires SMB signing on all connections, and Windows 11 Pro disables insecure guest logons1. Earlier builds (23H2 and before) still allowed guest fallback. 24H2 does not, and the behavior is inconsistent. Some 24H2 machines on my network connected fine, others refused. I couldn’t find a pattern.
I tried the obvious OMV-side fixes. Guests only (force anonymous access). Guests allowed with nobody given full ACL permissions. None of it mattered. The Windows machines that locked down guest access wouldn’t connect without a valid credential, and OMV didn’t have any credential to connect with.
I saw on internet the possibility to use some admin PowerShell commands that I did not try. The whole point of this NAS is that it works from any machine in the lab without touching the client. Running around to every Windows computer to change security settings is not an acceptable fix.
The fix: Create a single shared user in OMV.
In the OMV web UI:
- Users → Users → Add
- Username:
lab(or whatever, I won’t write on internet the one we use :) ) - Password:
password(something simple everyone in the lab can remember, but maybe not that..) - No admin rights needed
Then in your SMB share settings, set Public to Guests allowed and give the lab user read/write permissions on the shared folder.
On each Windows machine, when the credential prompt appears:
- Username:
lab - Password:
password
Windows caches the credentials after the first successful connection. You enter them once per machine and you won’t need to enter them again.
Two weeks in, the NAS just works. The Windows machines all connect, the scrubs run monthly (I hope), and everyone’s happy about it.
Footnotes
-
Microsoft made this change in Windows 11 24H2, released in late 2024. It affects both the SMB signing requirement and guest logon behavior on Pro and Enterprise editions. See Microsoft’s official guidance on SMB signing and guest authentication. ↩